Create a faux brick wall for less than $200.
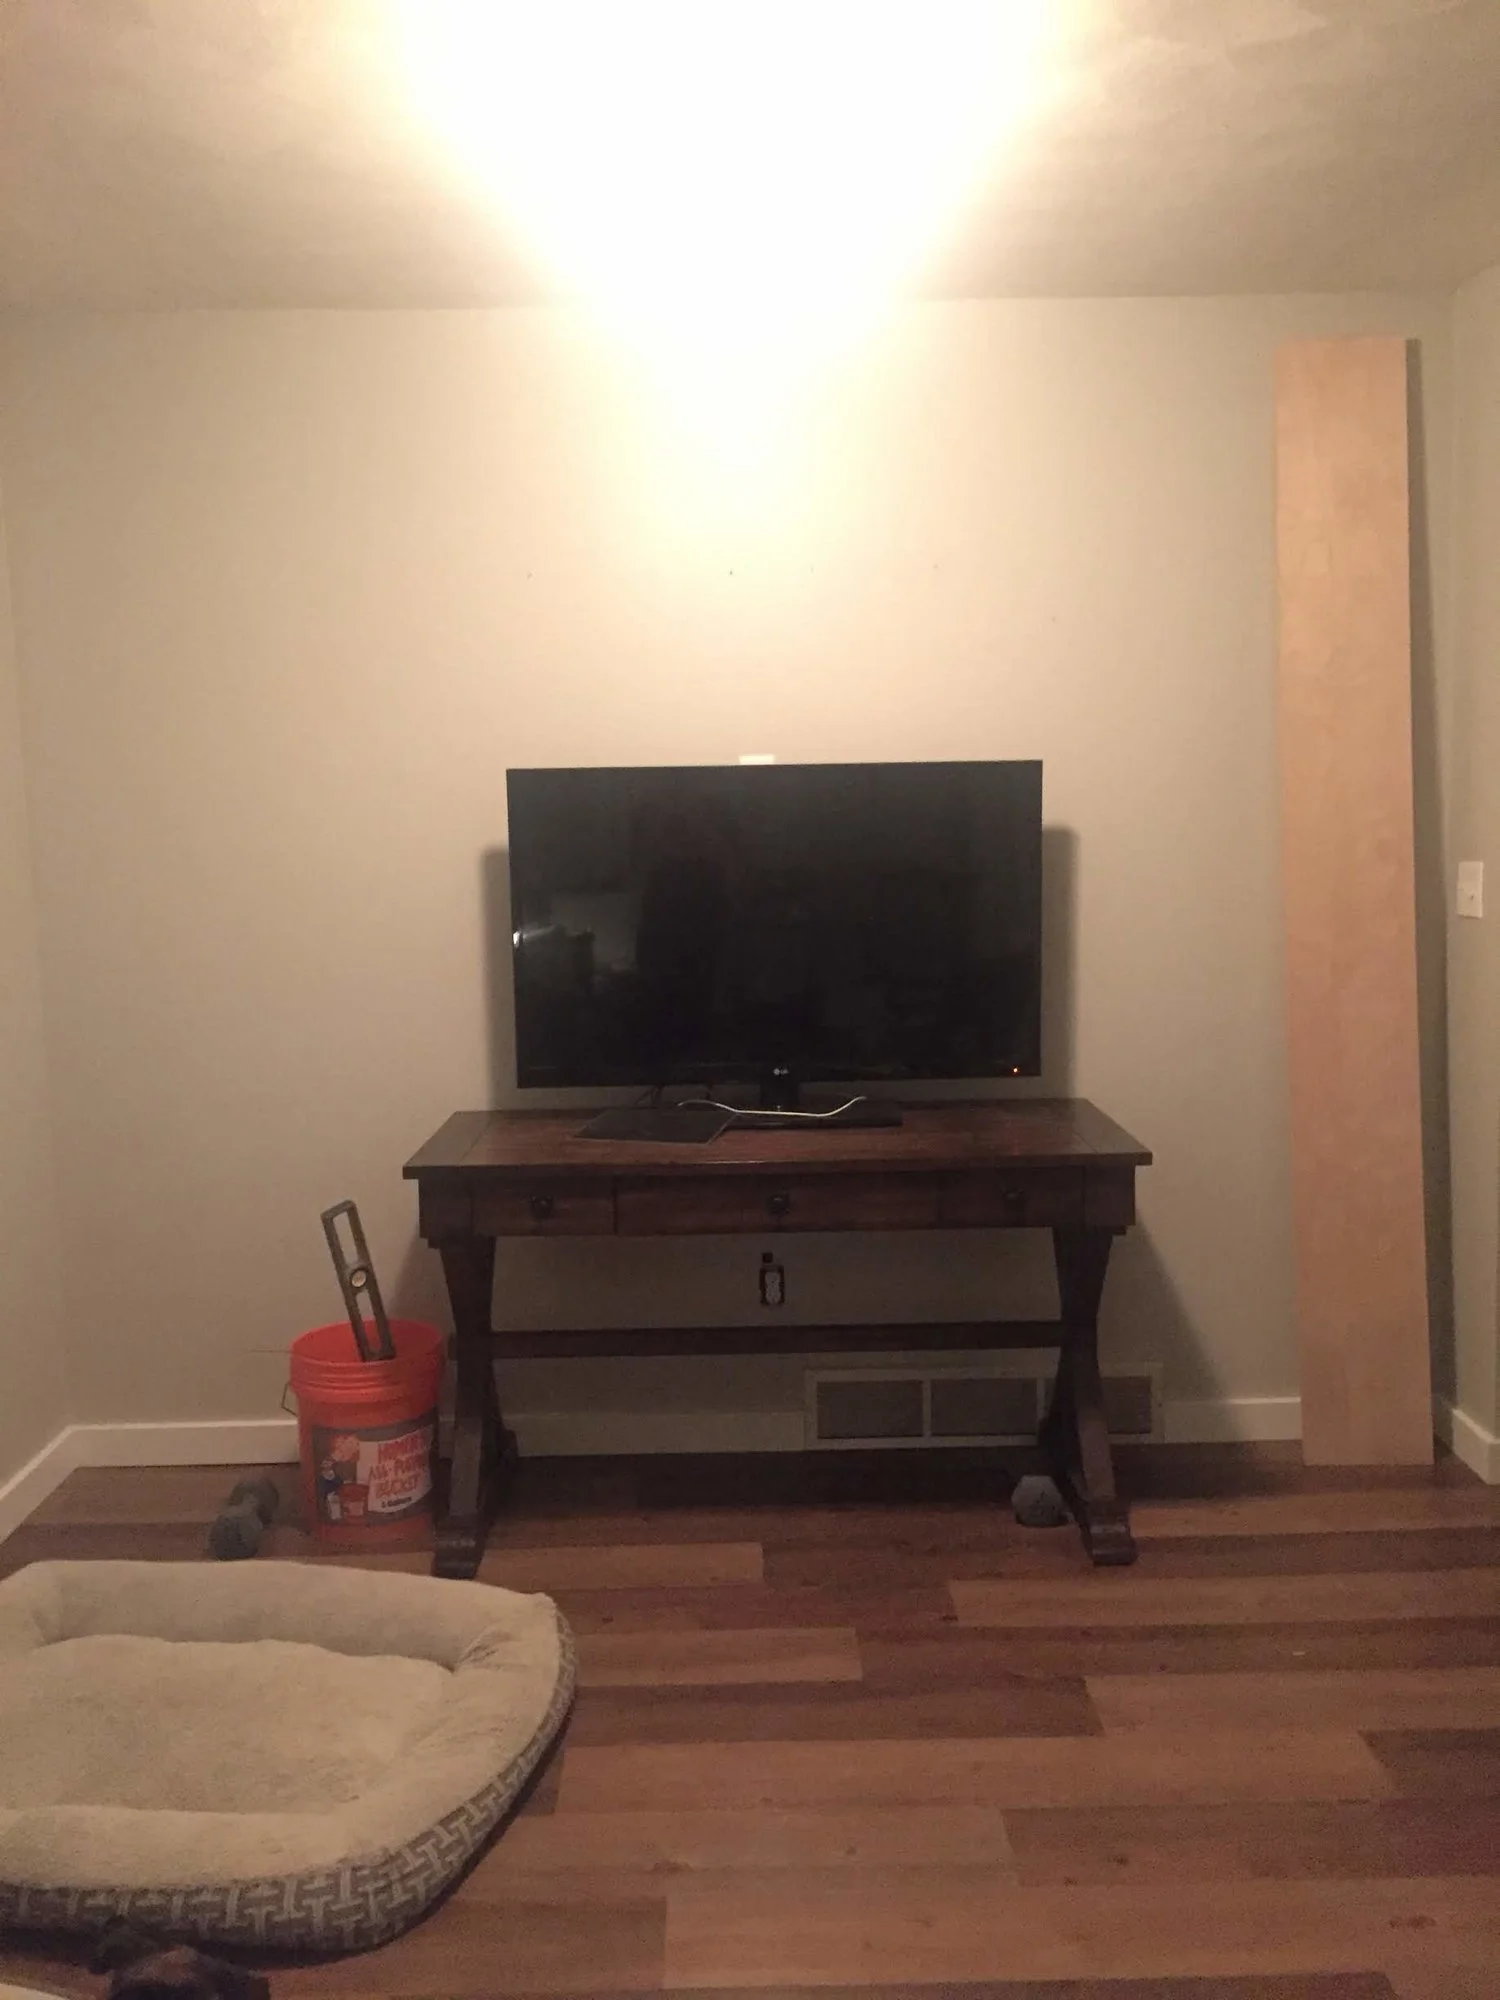
This accent wall would be perfect in your living room, dining room, kitchen, bedroom - the possibilities are endless! To purchase the materials to make this wall REAL brick was going to be around $1,000+. That’s a lot for an accent wall, considering we made a board and batten wall for another room for basically no cost.
Because I didn’t want to spend that, and I wanted the option to be able to remove whatever we put up, I decided faux brick was the way to go.
Want to know the best part?
It only cost $75!
Materials:
Faux brick panels
Drywall mud
Drywall scraper
Paint / water
Nail gun
Circular saw
Jigsaw
HOW TO: Faux Brick Wall
Step one
Measure your space and cut your panels to size. We were able to make one small cut for the first piece. The second piece had a few more obstacles - the outlets and the vent. Be sure to measure TWICE and cut ONCE. We used the jigsaw to cut out the holes.
Also, be sure if you have more than one piece that the bricks line up on the wall (there are full and half bricks).


FLOWERS
Local to the QC and want a beautiful and unique floral arrangement for yourself or a loved one?
Step two
Nail the panels to the wall using the nail gun. Also, be sure your panels are level. In most homes, the walls and floors aren’t exactly perfect, so be sure your panel is level on the wall or your bricks may appear tilted.
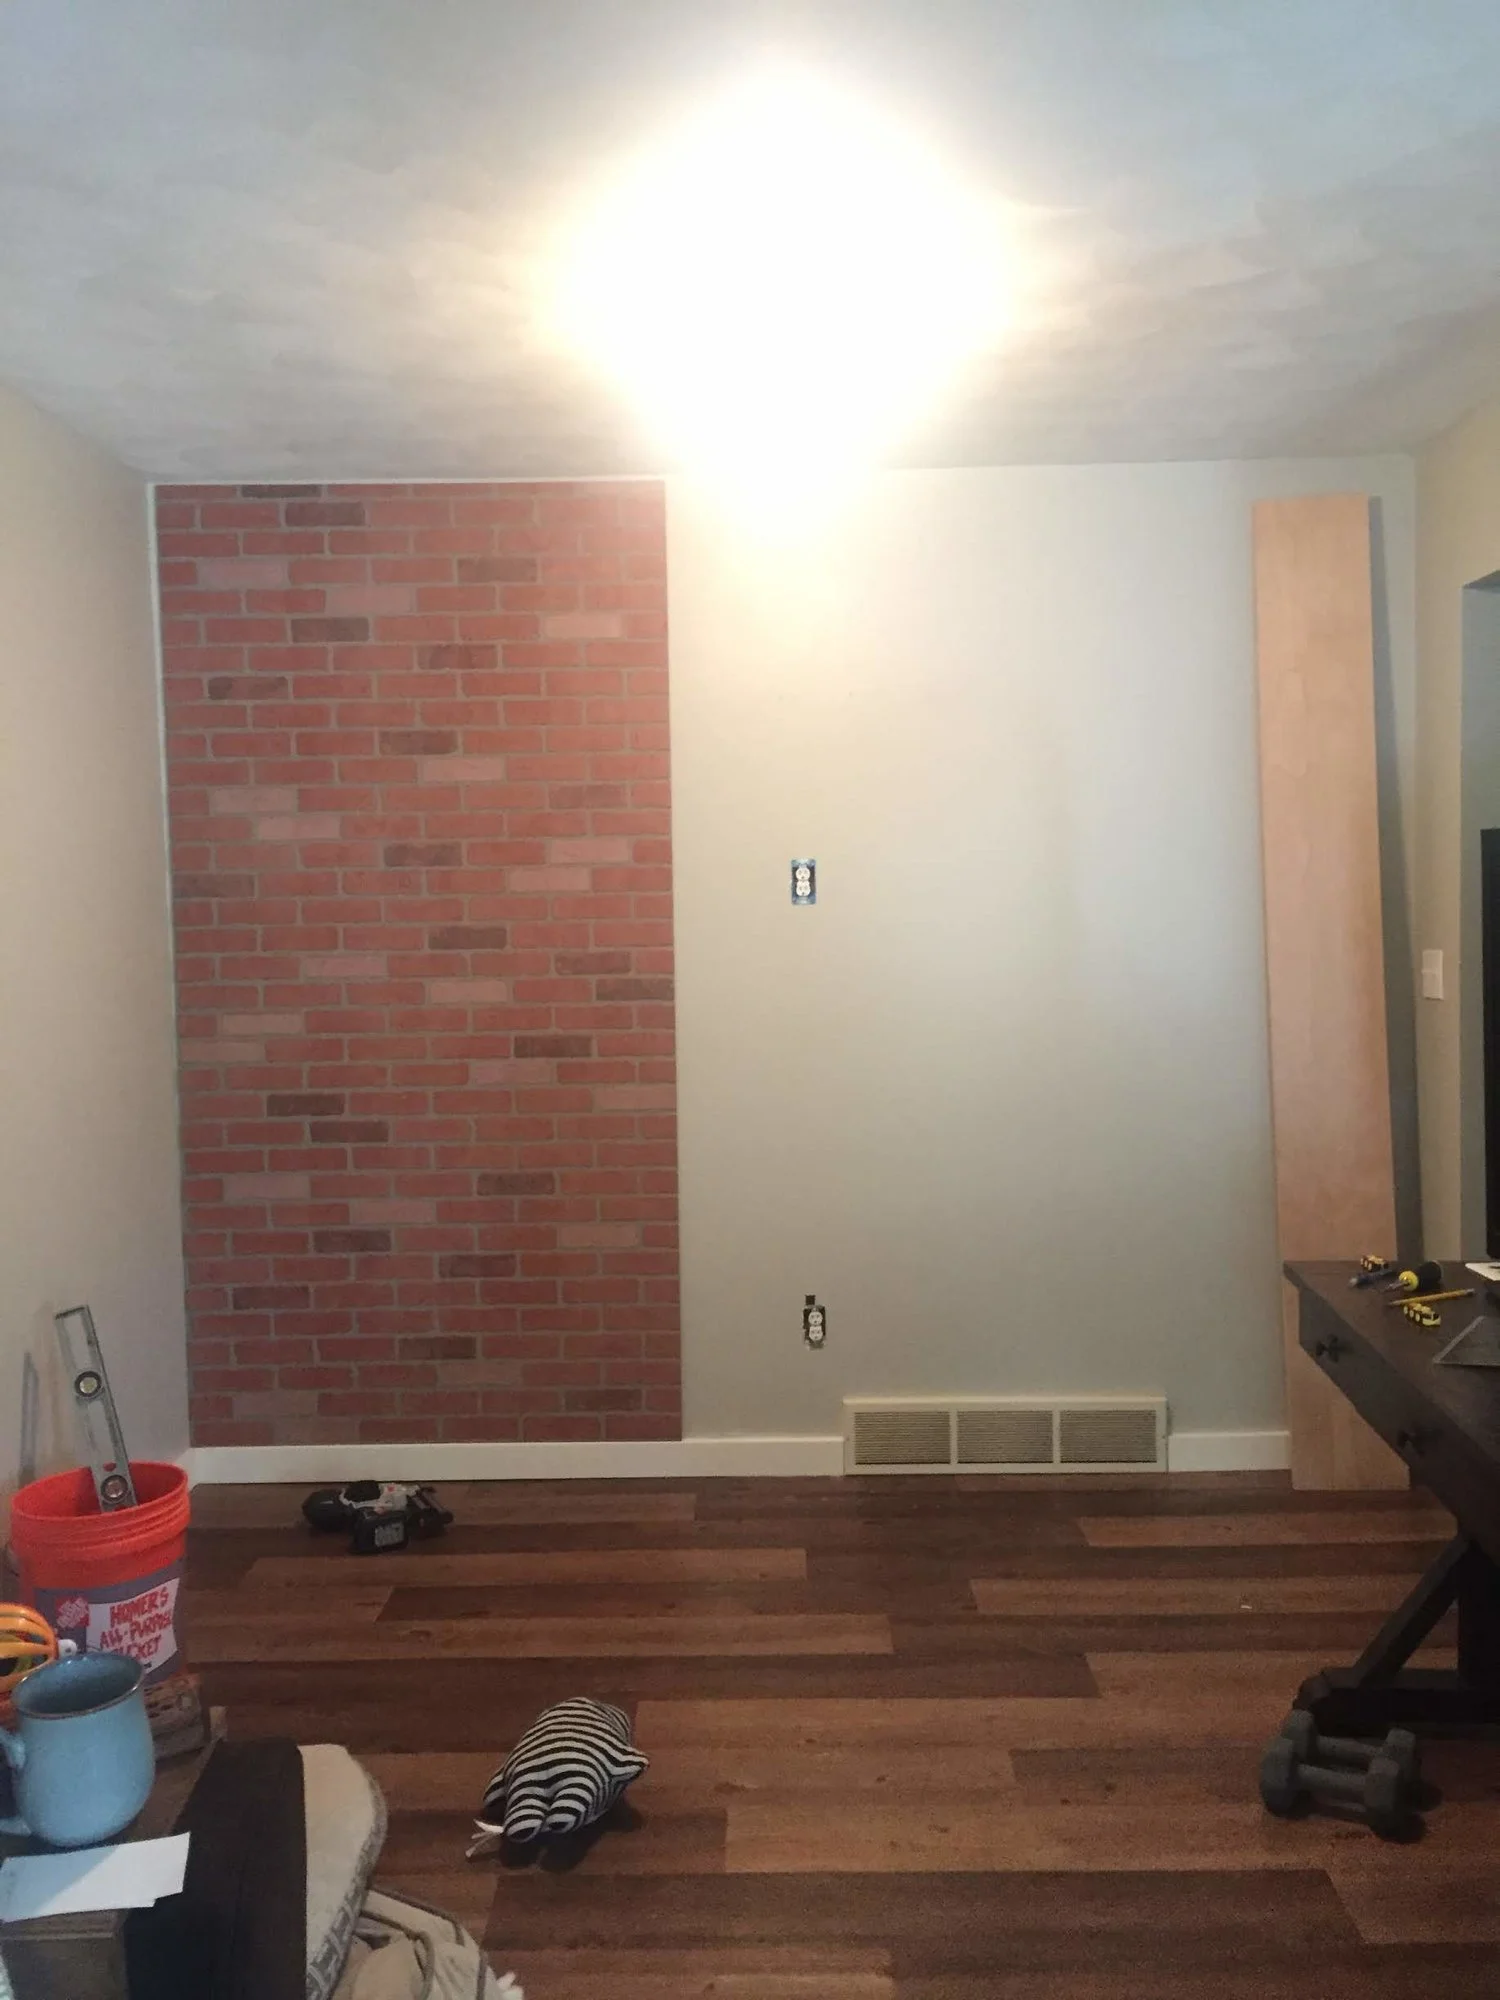
We have 8ft ceilings, so they fit perfectly without much cutting on the top/bottom.
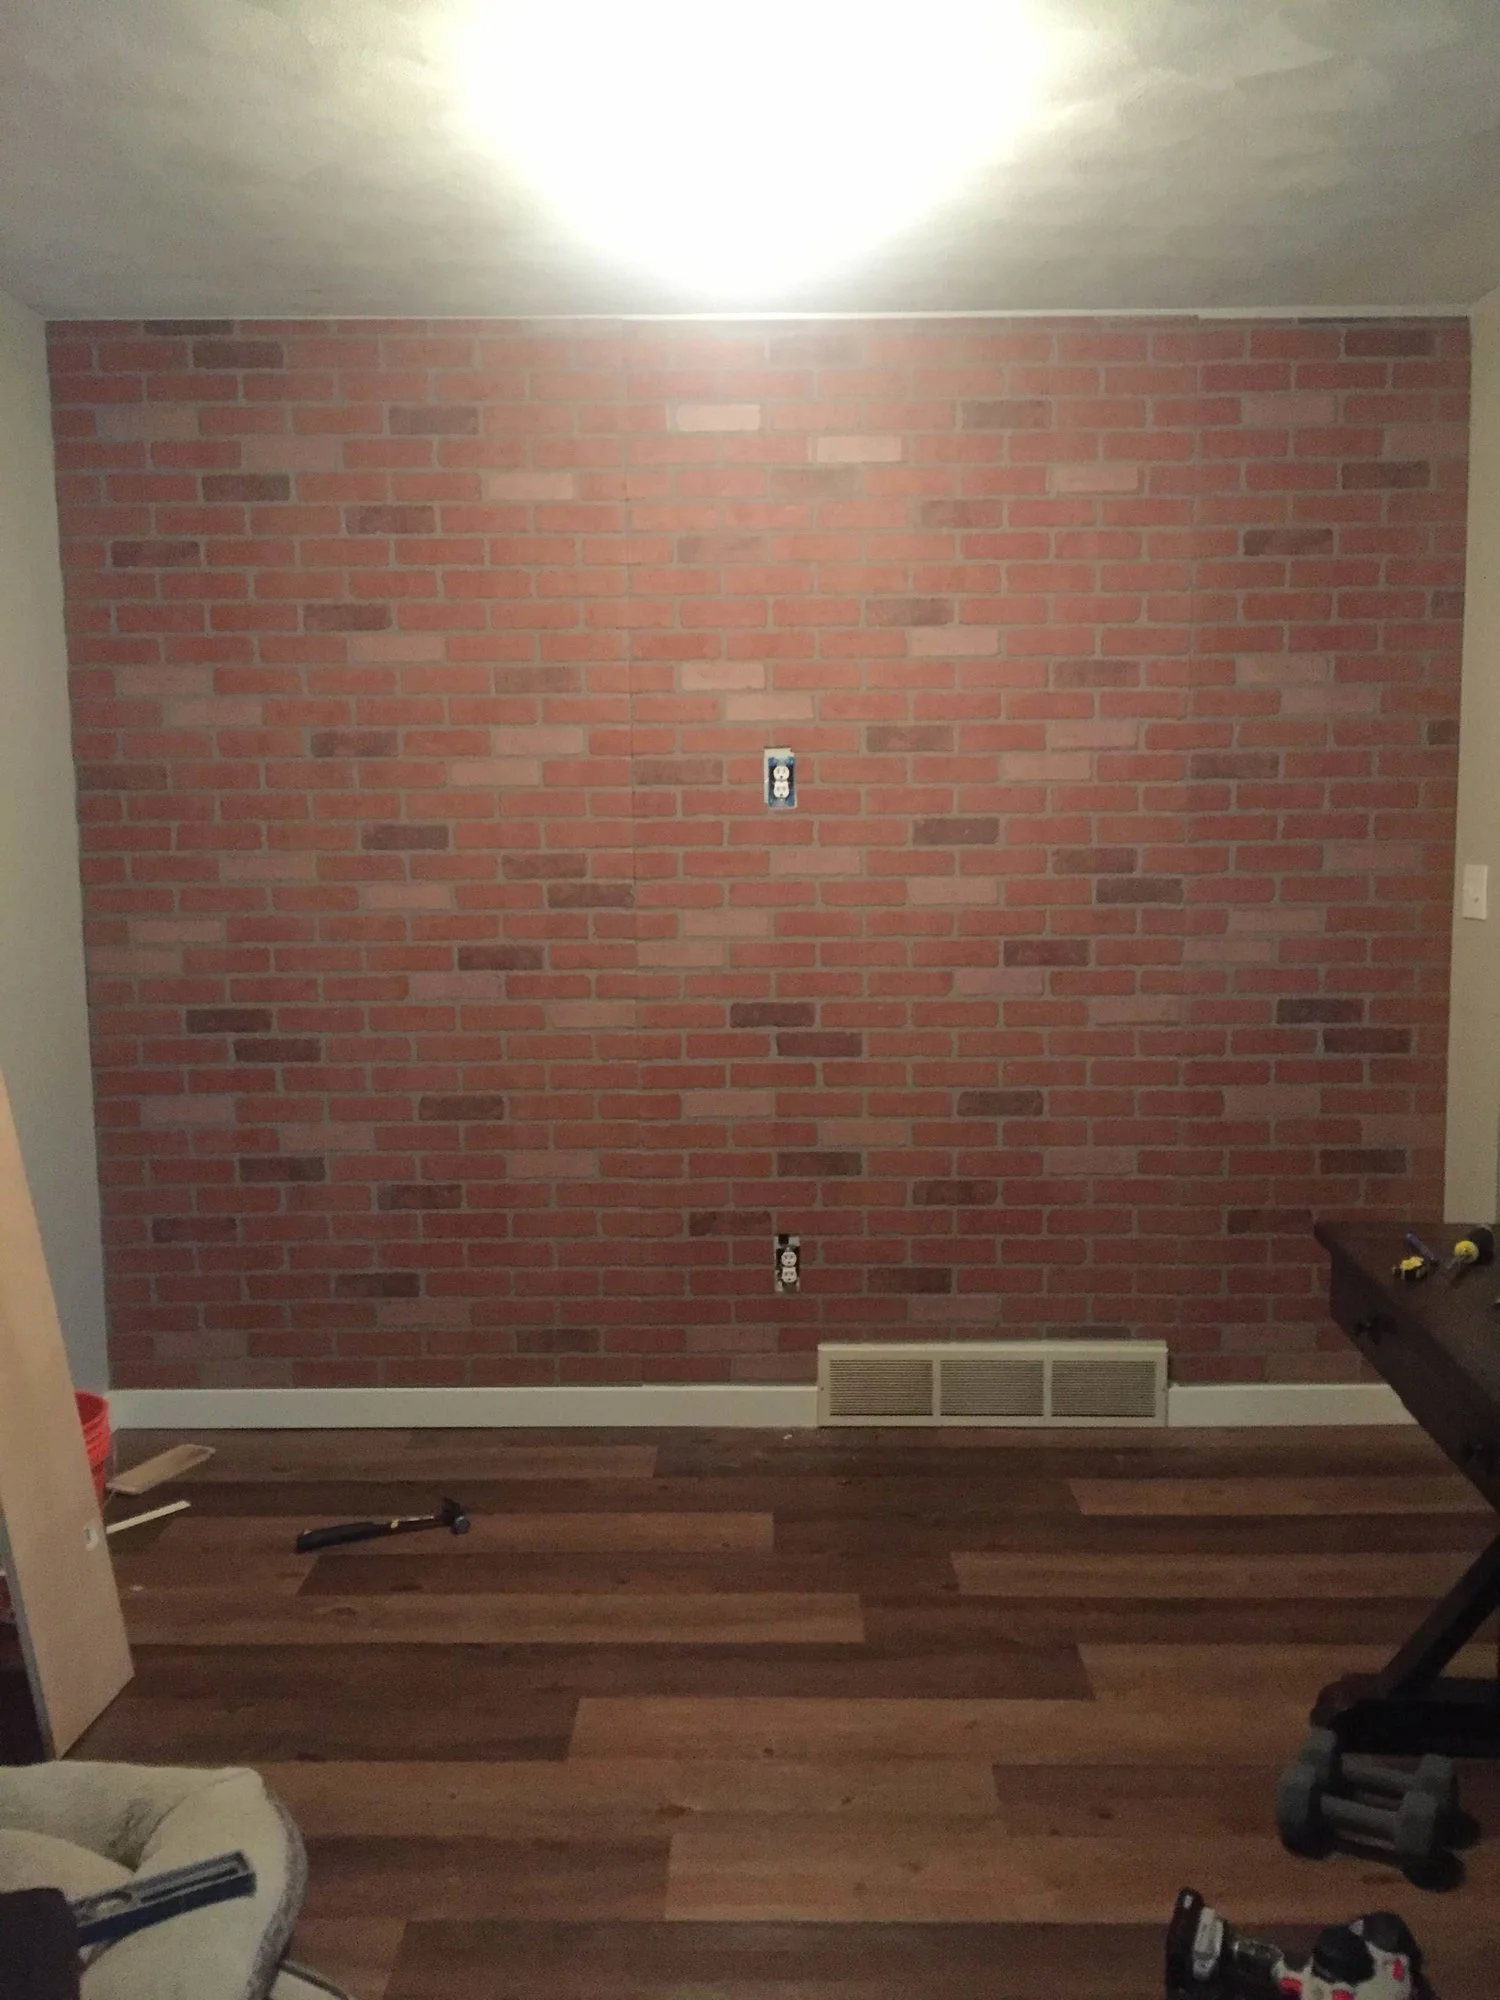
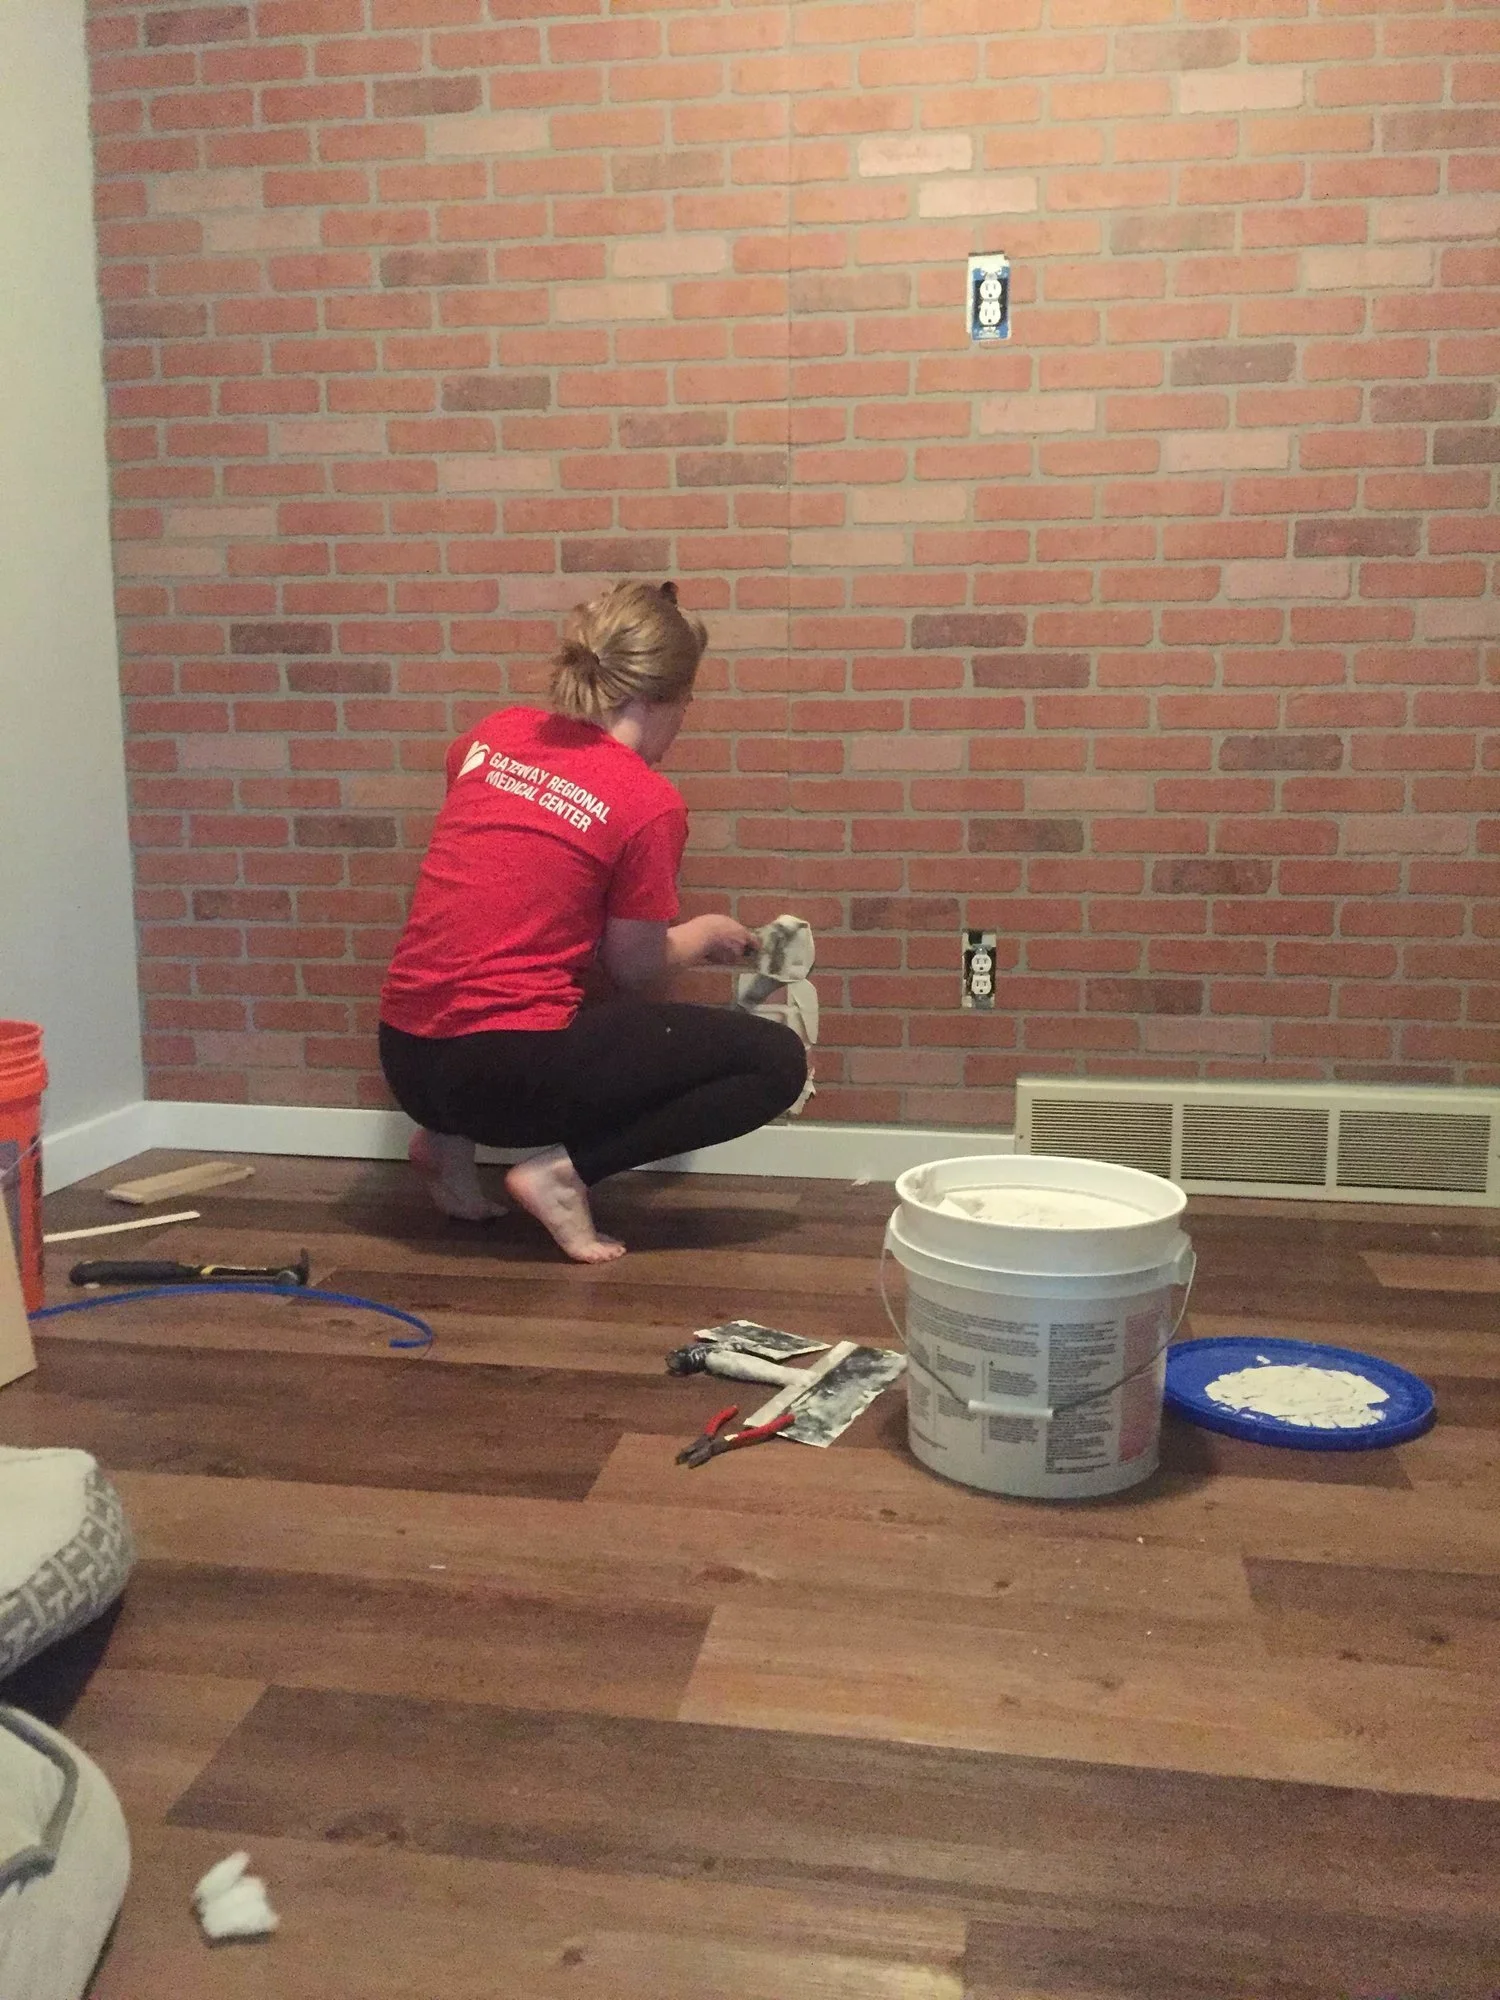
Step three
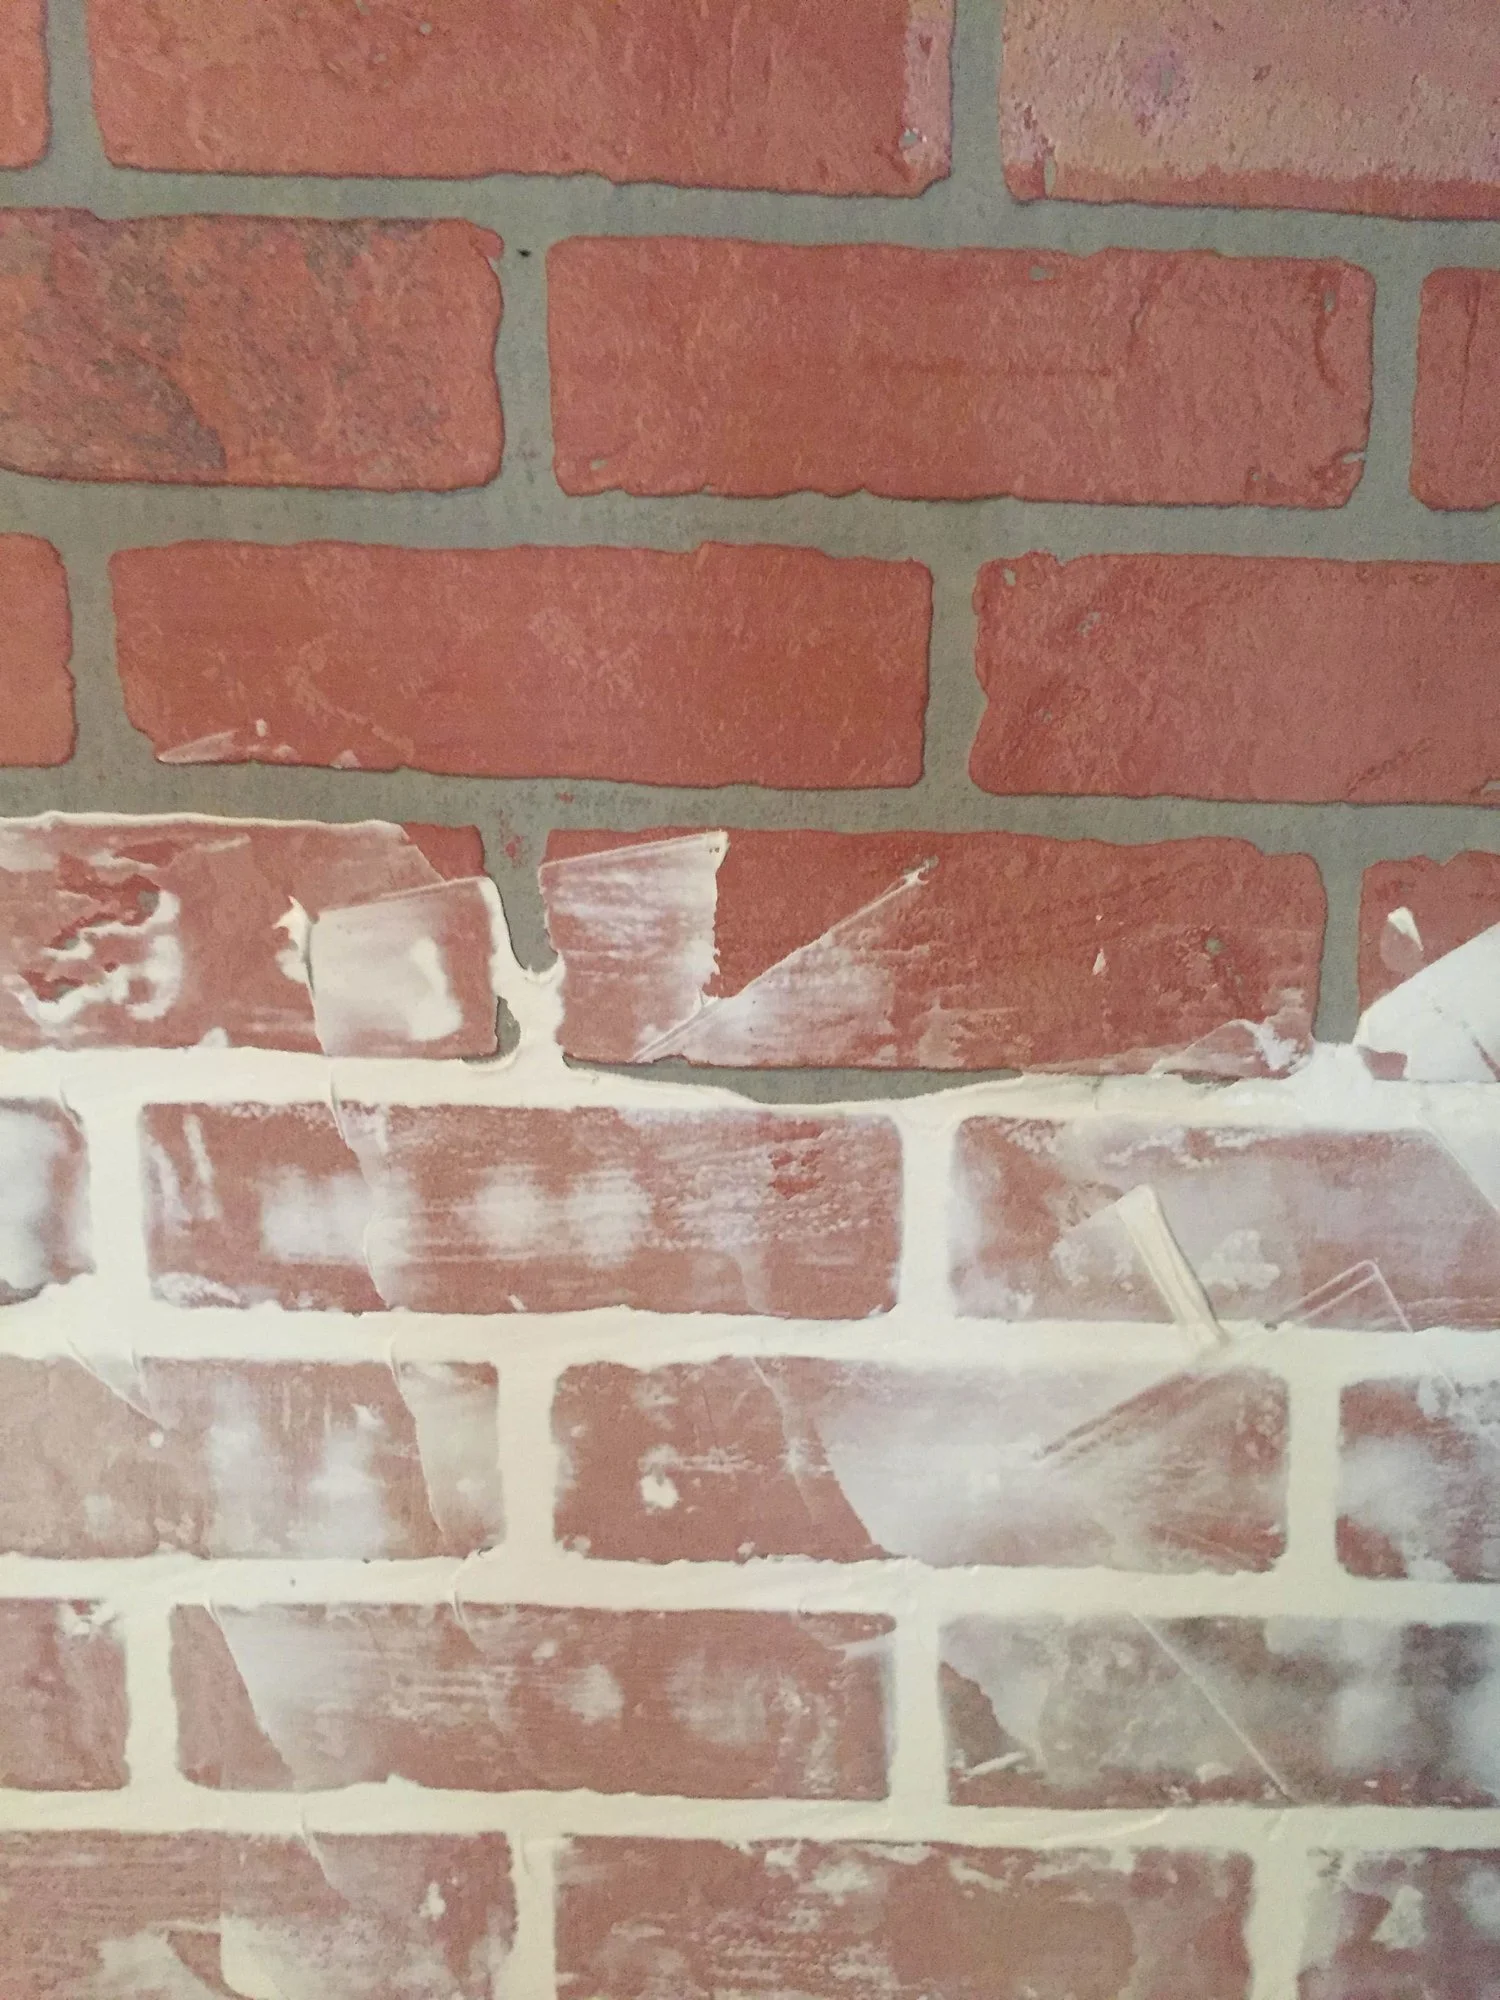
Use your drywall mud and scraper to apply the mud to the wall. Imagine you’re applying grout to tile. Move your scraper up, down and diagonal. Be sure the mud fills the grout lines. I intentionally made the drywall mud a bit ‘messy’ because I wanted the brick to look more organic.
Total time: 4 hours
Dry time: 2 days
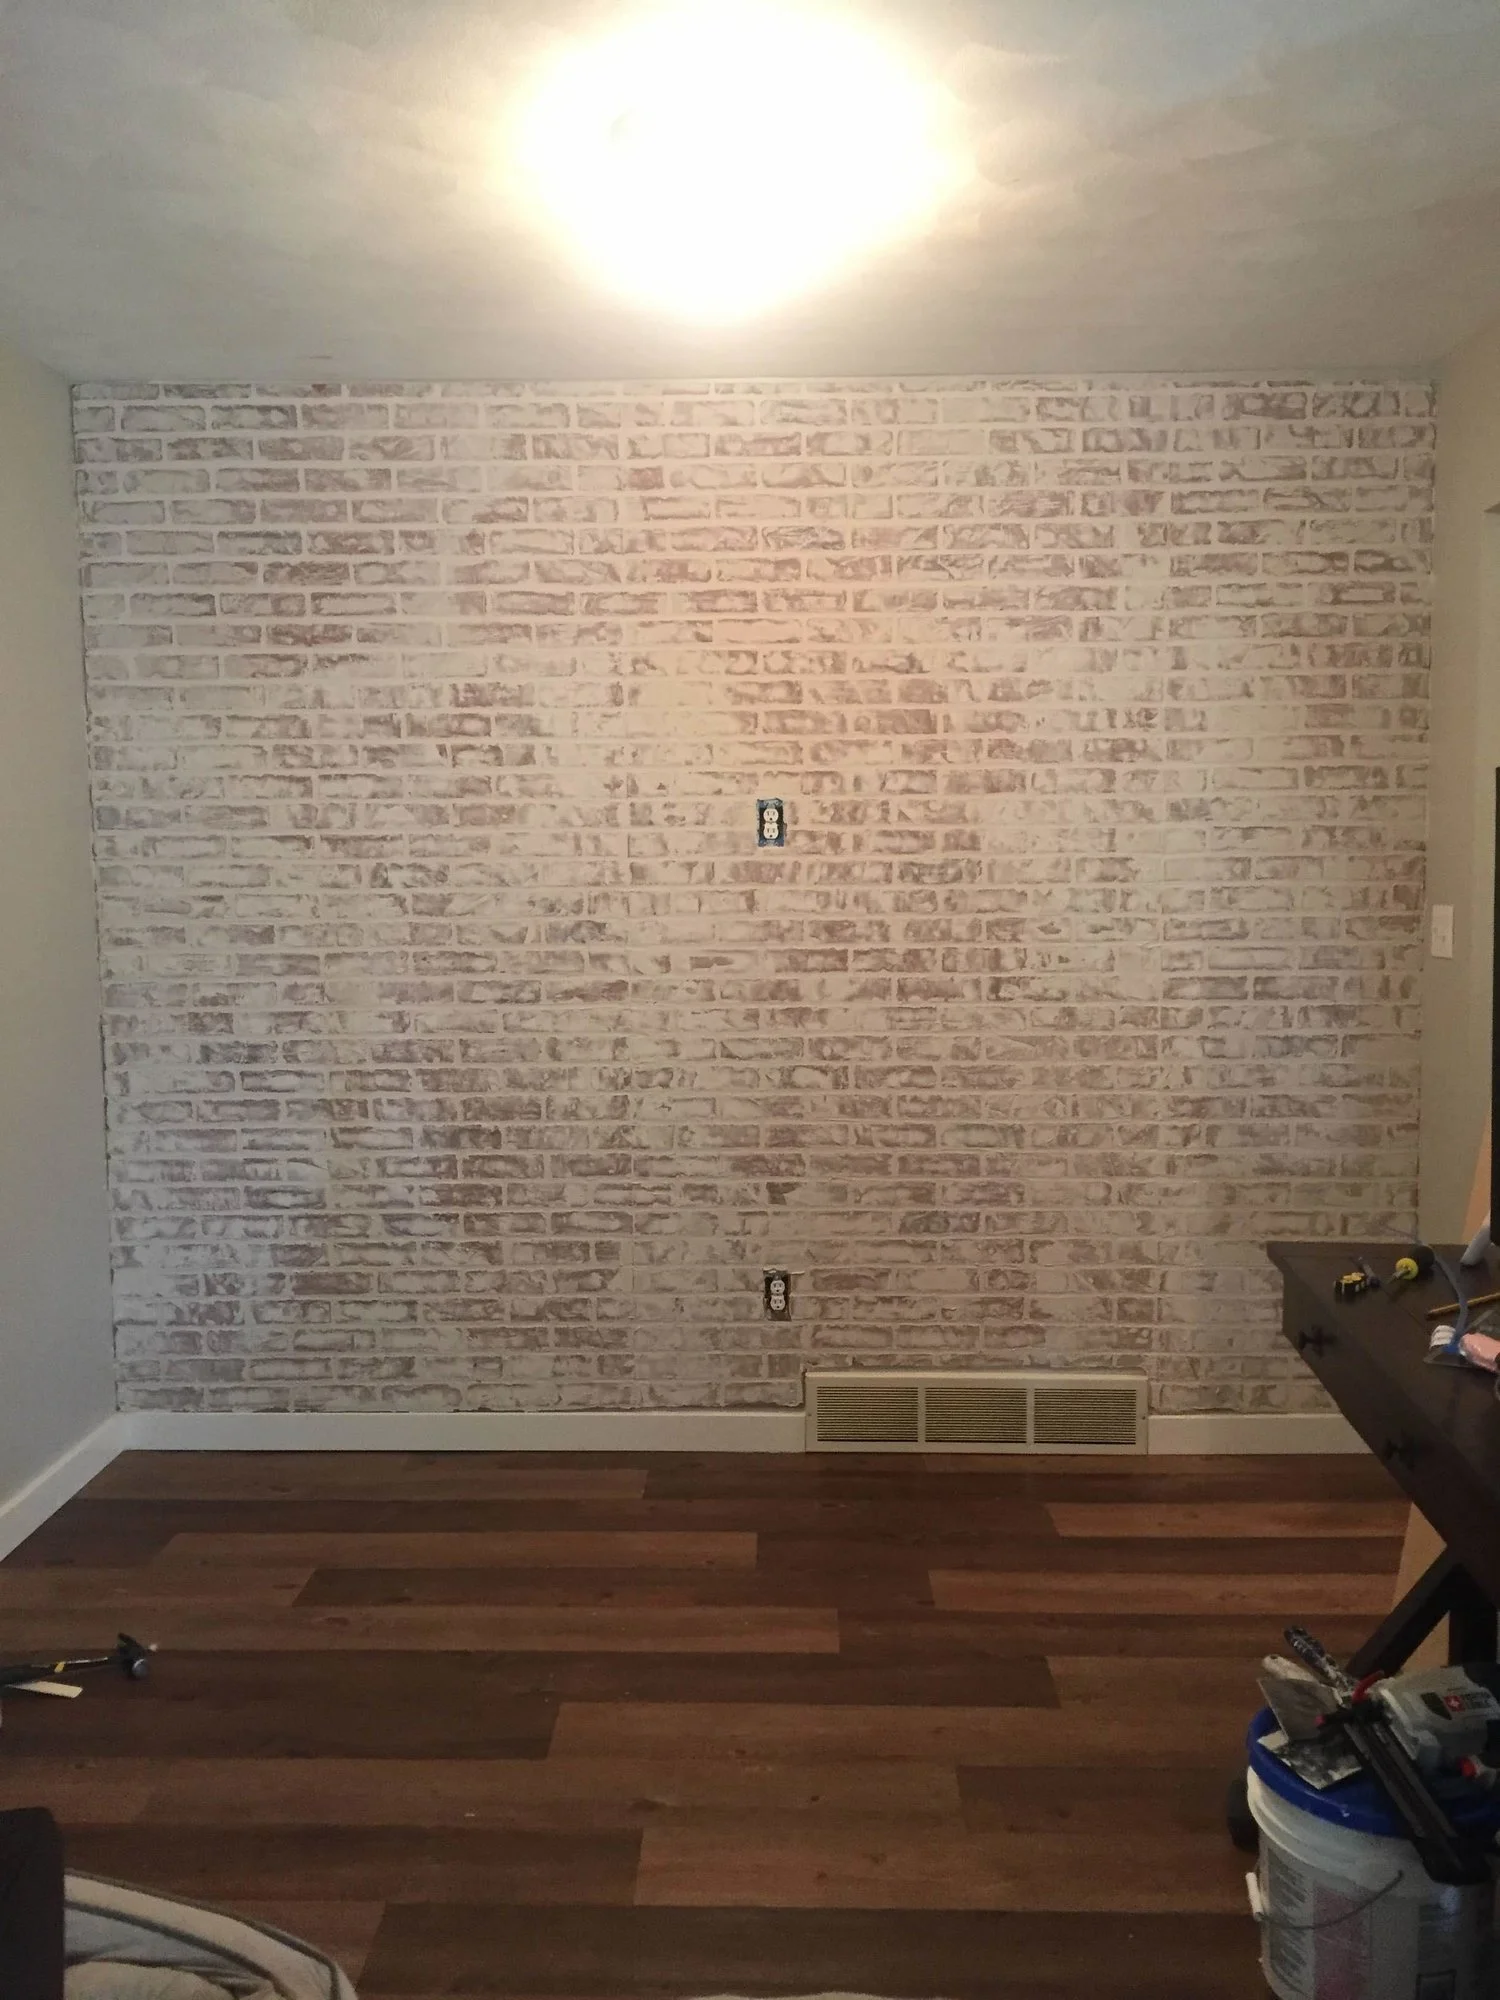
Isn’t it beautiful!? We had people come over to our house and ask when we put up the brick - it really does look REAL!
If you're going to be touching this wall or just want to add a layer of protection over it, here's how.
HOW TO: Top Coat
Step one
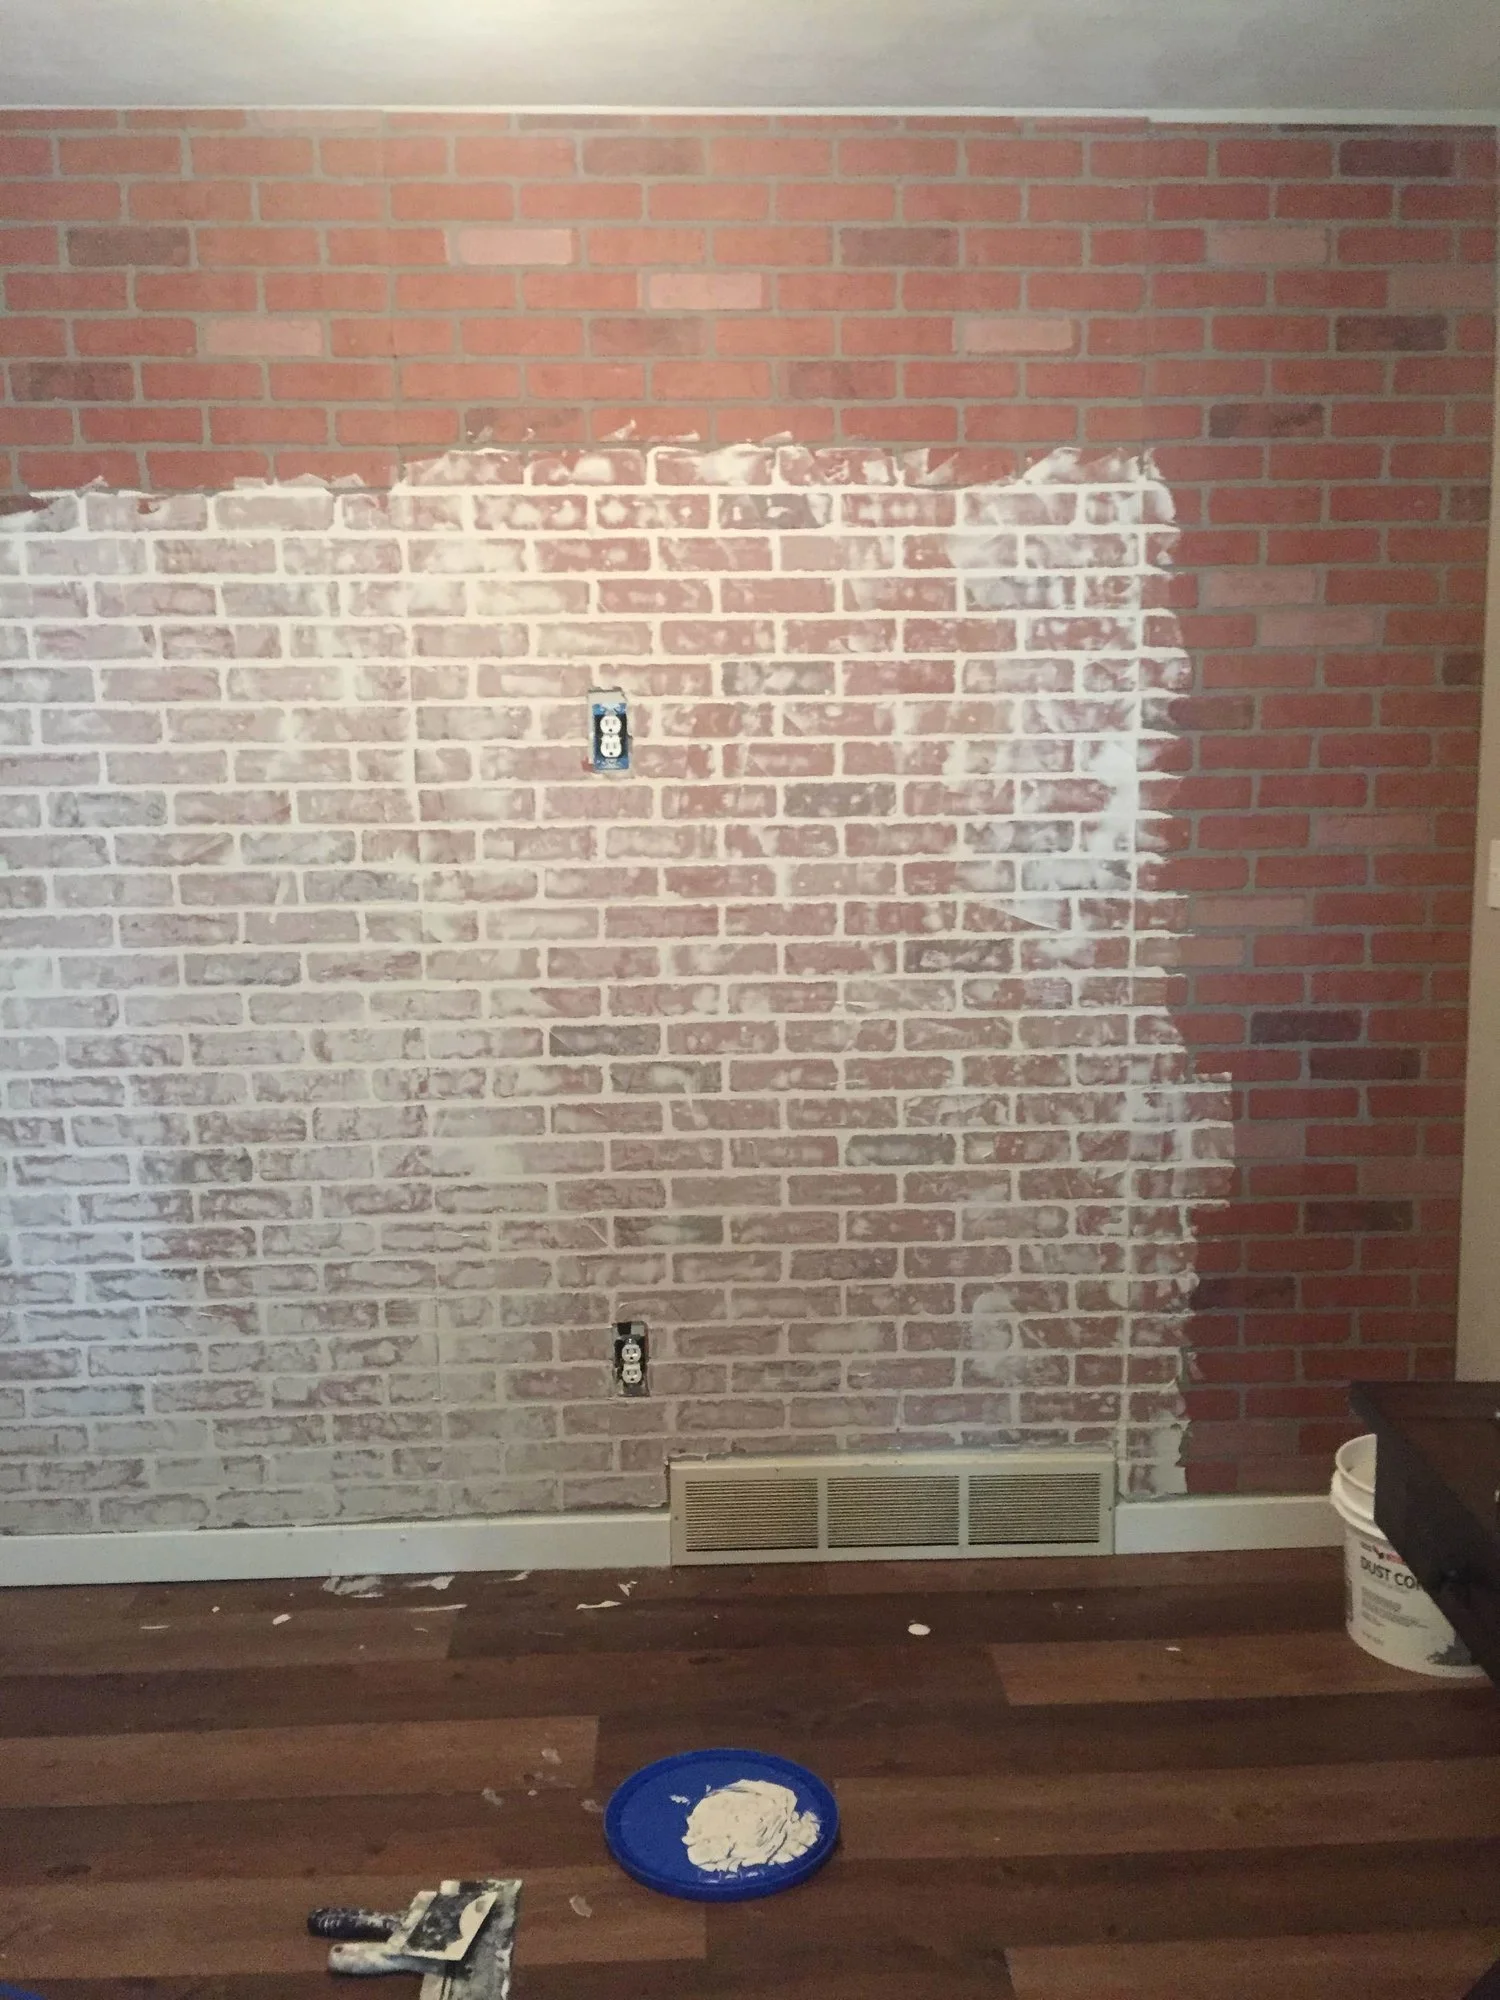
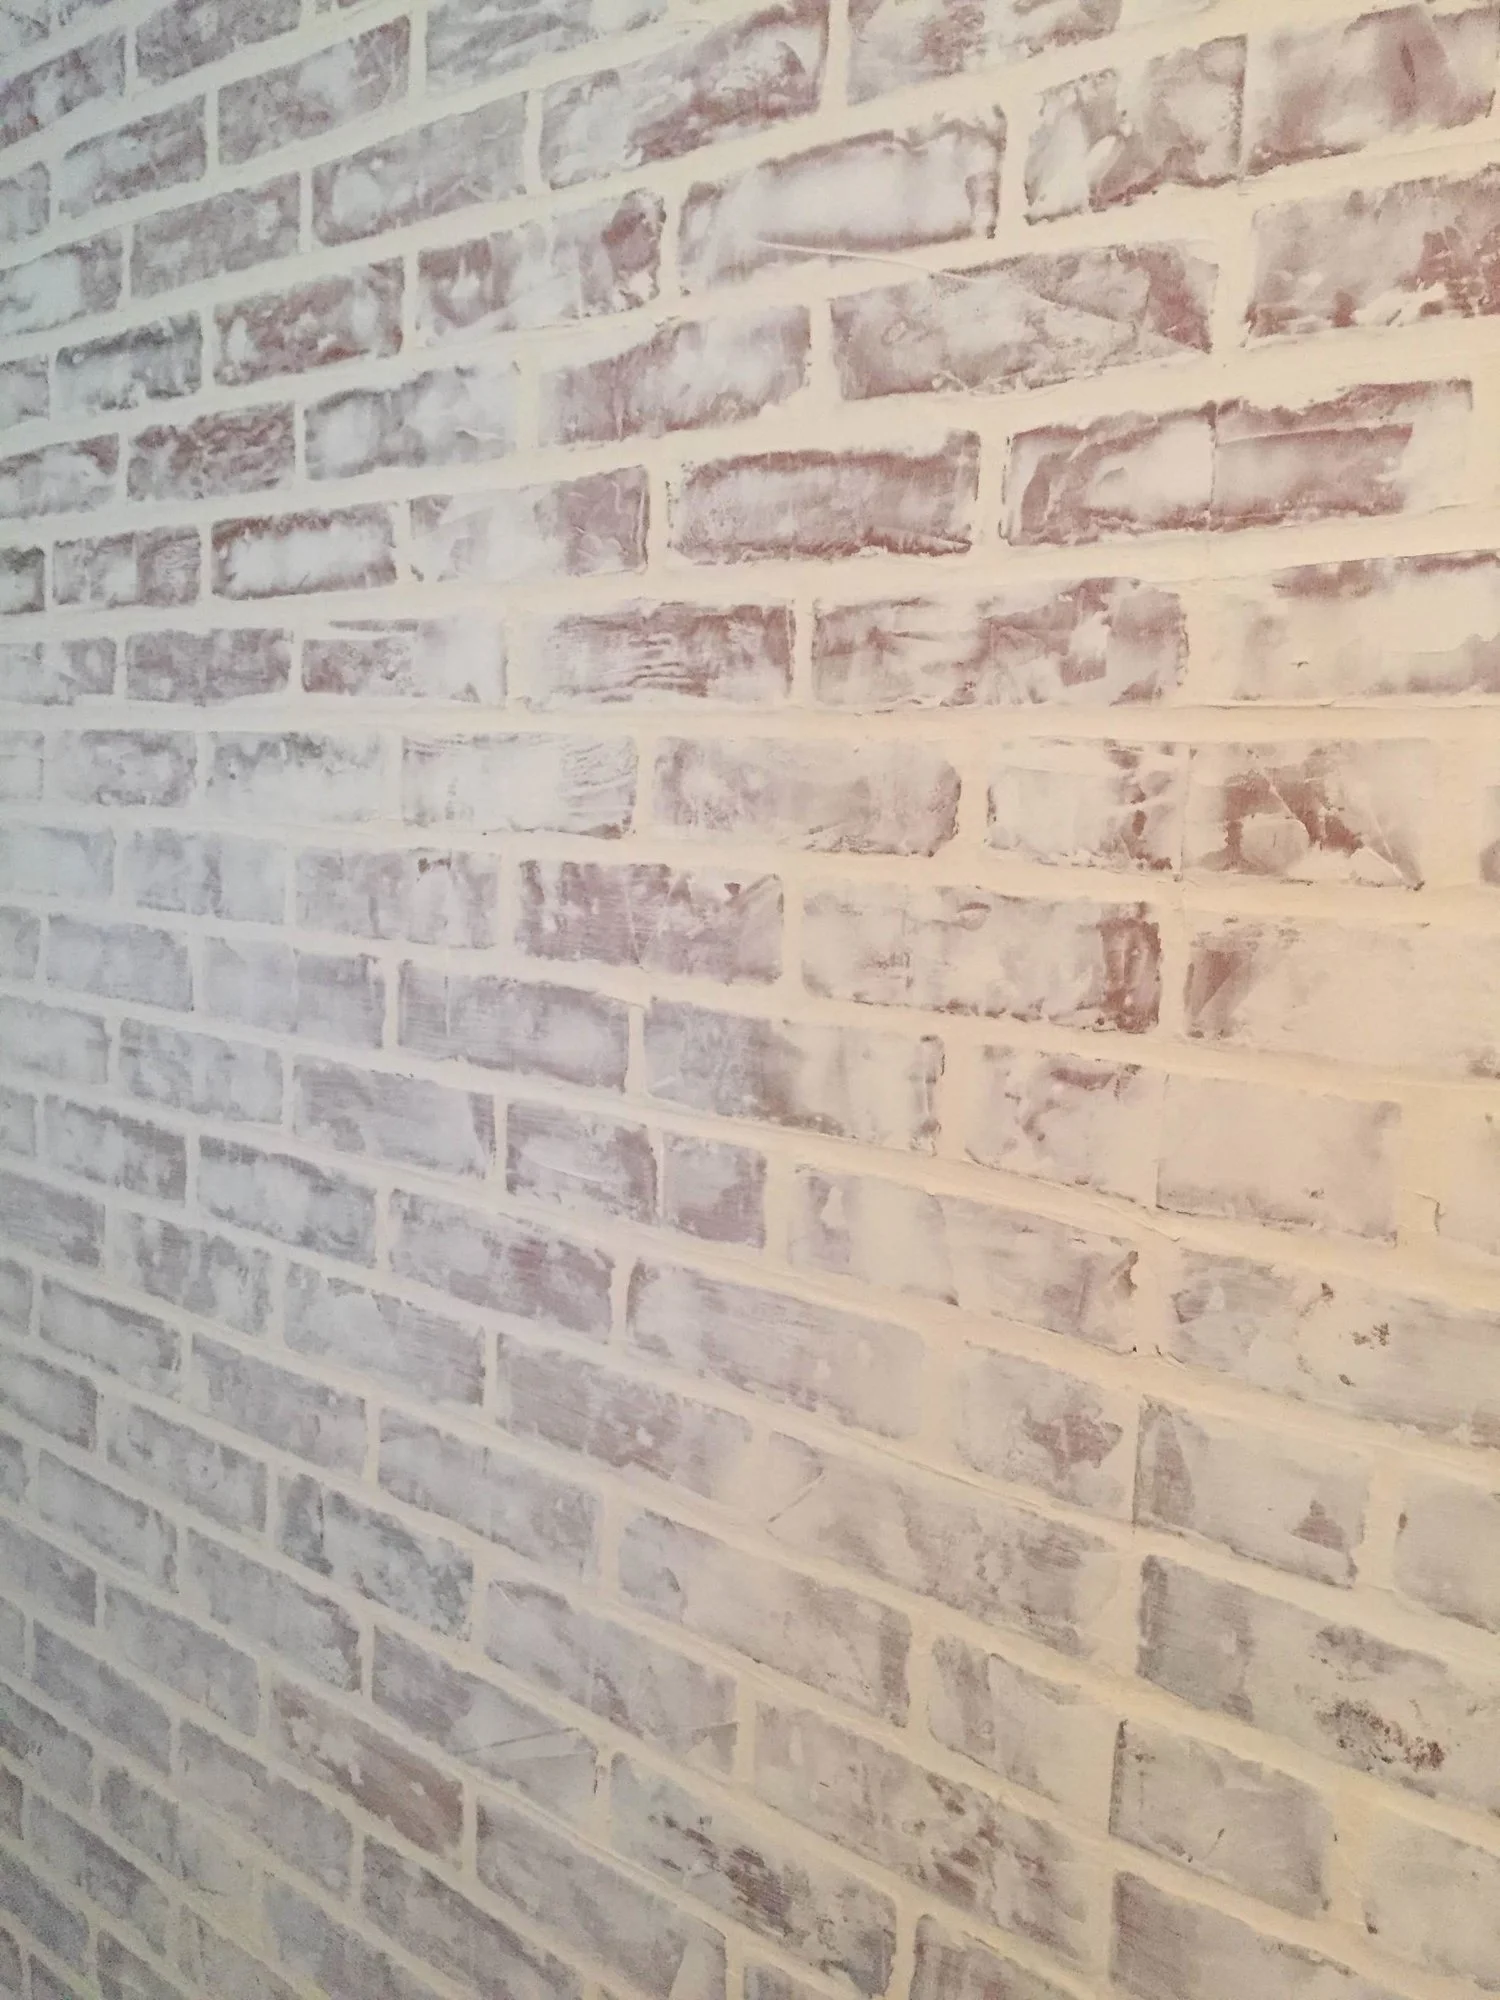
Once your mud is dry, you can then apply a sealer. You can use a polycrylic (clear coat) or you can use paint. I used white paint and mixed 25% paint and 75% water. This allows it to seal the mud, but not turn the wall entirely white.
Total time: 1 hour
Dry time: 1 day
You can see the difference in this photo. The bottom part has the white paint coverage and the top part does not. Keep that in mind if you plan to do this.
If you want more of the red brick showing through, maybe try the polycrylic clear coat instead of the paint. If you want the brick to be more white, add more paint in your mixture of paint and water - or use paint only for maximum coverage!
That’s it! With the right tools and materials, this project can transform your house in just a few days.
But, that’s not the end of the story for this wall - we also added built-ins to finish it off.

Are you ready to transform a space in your home?
Not sure where to start? Contact me for more information (below) on how I can help you create a space you’ll love for years to come! Or, you can check out the services I offer.